

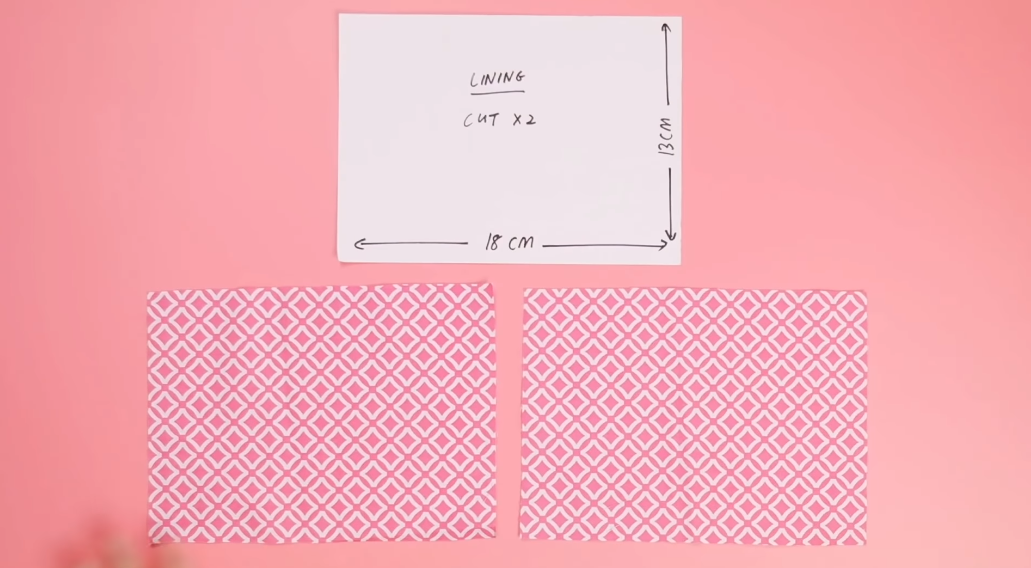
STEP 1: Cut 1 piece of Main Fabric, 2 pieces of Lining and 2 pieces of elastic according to the measurements below.

MEASUREMENTS FOR ADULT SIZE:
Main Fabric: 24cm x 19cm
Lining: 18cm x 13cm
Elastic length per piece: 30cm if elastic is very stretchy, or 35cm if it's not very stretchy. Try it on and adjust the length if needed.
MEASUREMENTS FOR KIDS SIZE:
Main Fabric: 21.5cm x 16.5cm
Lining: 15.5cm x 10.5cm
Elastic length per piece: 25cm if elastic is very stretchy, or 30cm if it's not very stretchy. Try it on and adjust the length if needed.
STEP 2: On the WS, press up about 1.5cm on one side of the Lining's long edge and sew. Repeat with other set.


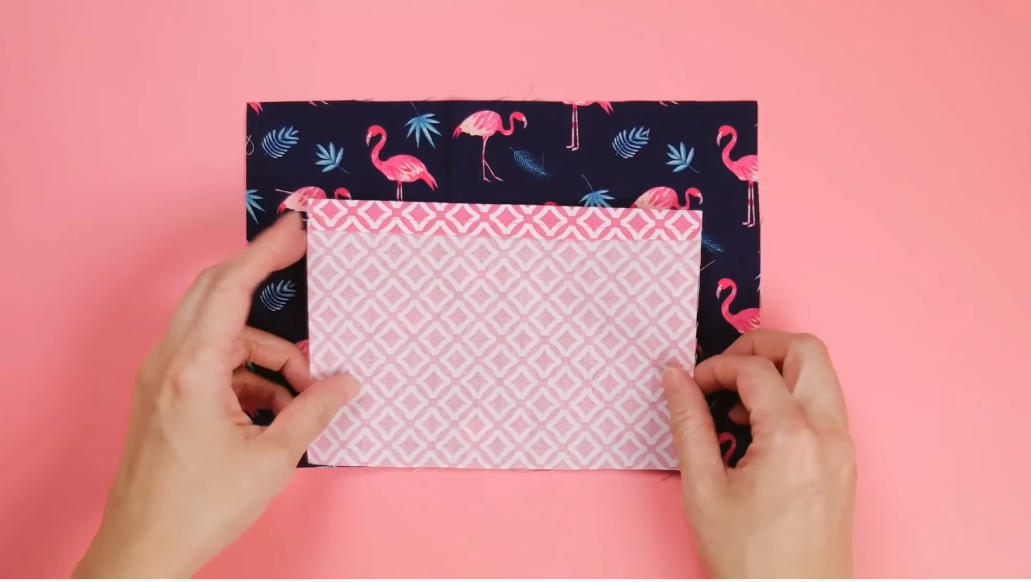
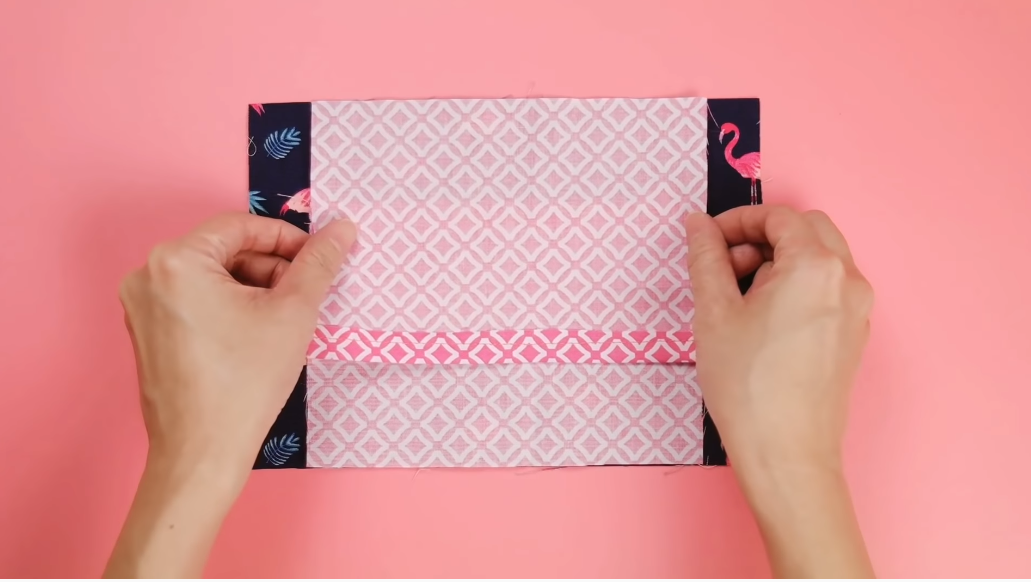
STEP 3: Stack and clip/pin both Lining on Main Fabric RS to RS. Make sure the gaps on both left and right sides are equal.
STEP 4: Sew the Lining and Main Fabric together, RS to RS, at the top and bottom. Press.

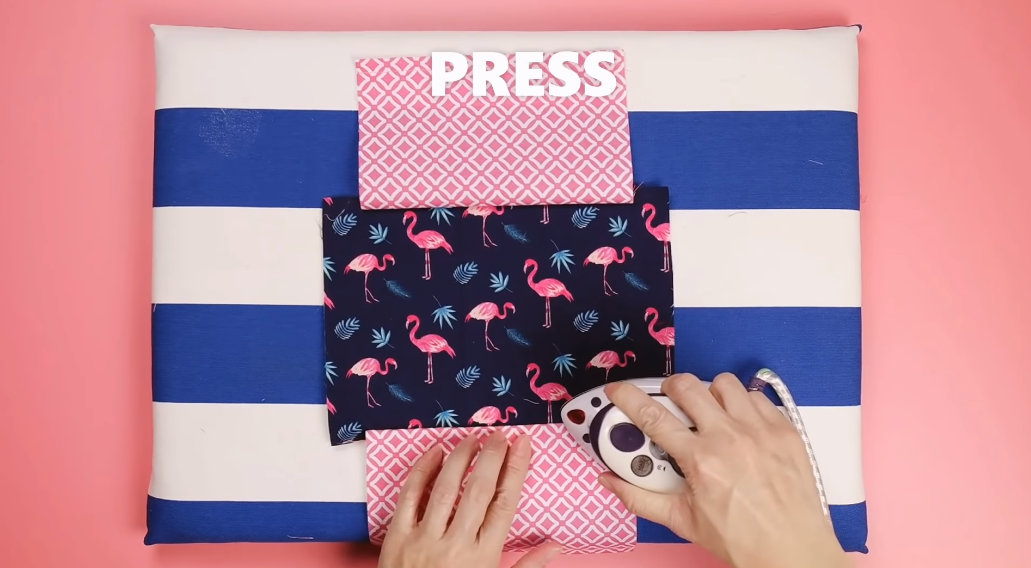
STEP 5: Fold in Lining to Main Fabric WS to WS. Press.

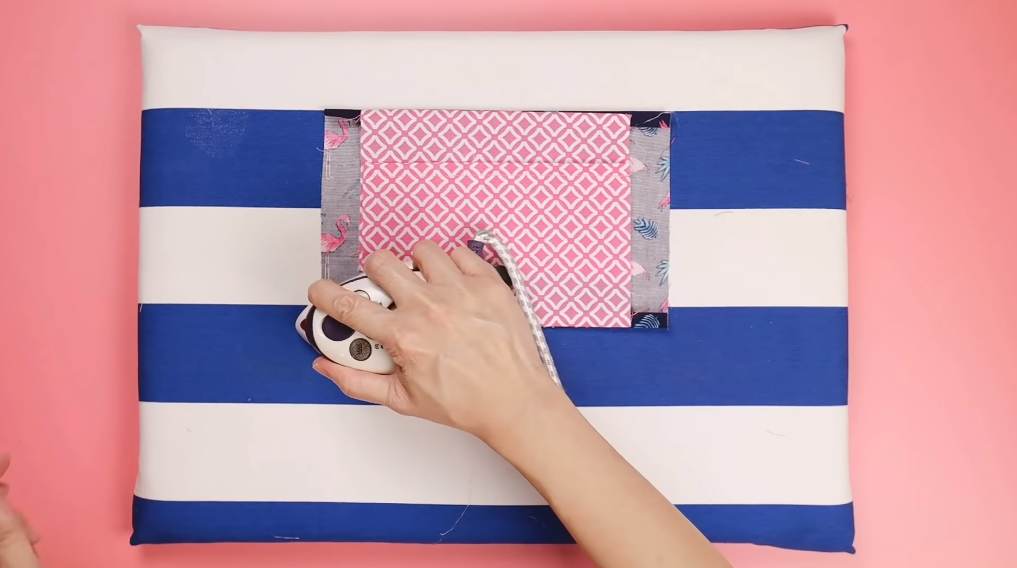
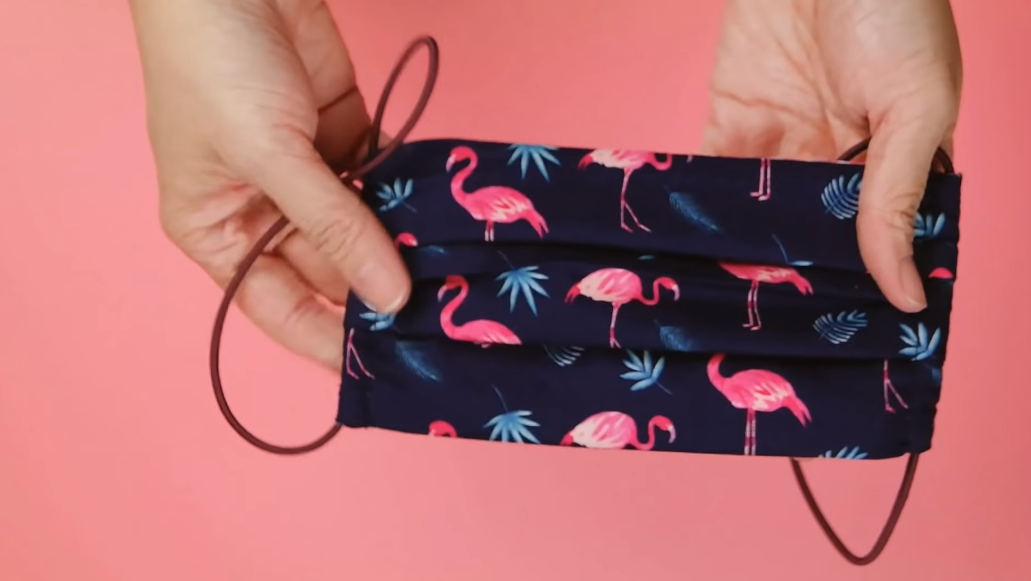
STEP 6: Time to create the pleats! Pinch and fold both Main Fabric and Lining into 3 pleats, about 1cm per pleat. Clip or pin to hold the folds and press the pleats. The finished height is approximately 10cm.


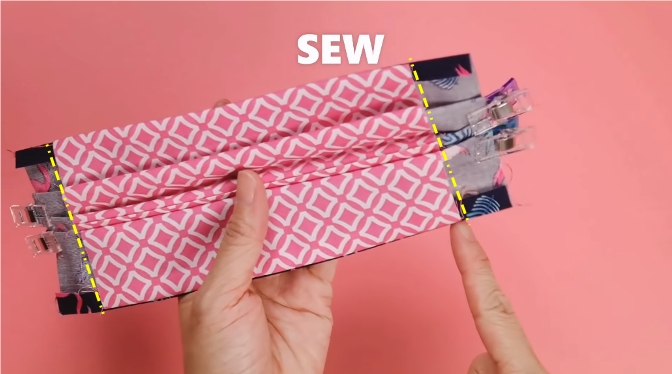
STEP 7: Sew a straight line on the Main Fabric, right next to the Lining edge. Repeat on the other side.
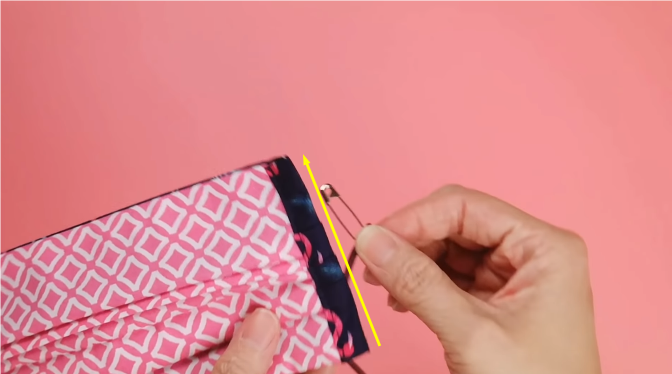
STEP 8: To create the elastic tunnel, fold the raw edge of the Main Fabric twice. Clip or pin to hold the folds in place. Repeat on the other side.


STEP 9: Sew up the folds to create the elastic tunnel. Repeat on the other side.

STEP 10: Insert elastic, tie a knot, insert a non-woven layer and you are done!

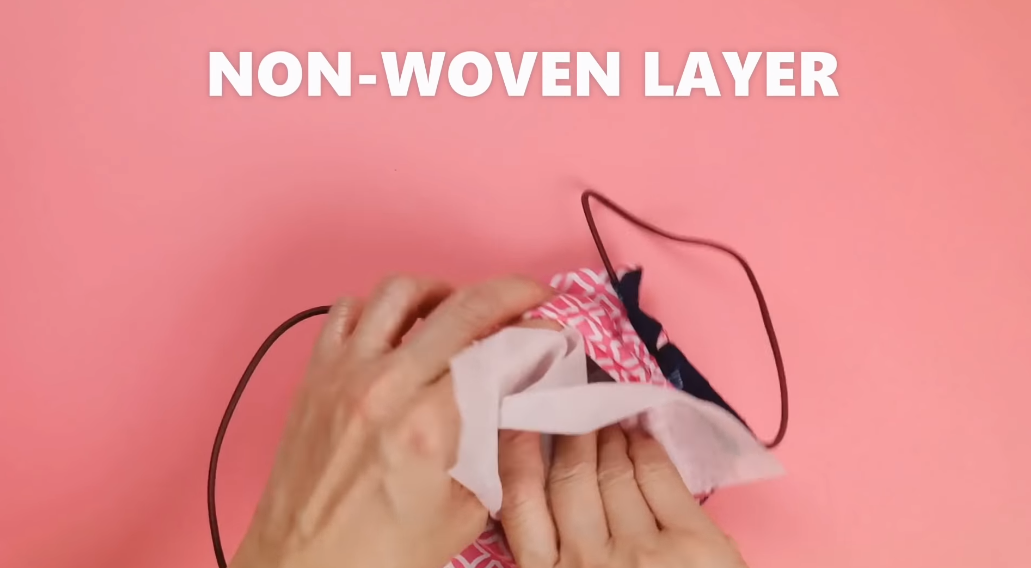
Happy sewing!
To read more about what a fabric mask can and cannot do for you, please see our original post here.


